Blog Archives
Gift or Room Idea: Glitter Candle Lantern
Have a little time on your hands?
Need an inexpensive gift quickly?
Or do you just need an inexpensive way to decorate your room?
Well if you answered yes to any of the questions above I have just the project for you. I made this candle holder this month when I needed a gift fast but had only $10.00 to my name. Luckily I had most of the materials needed to complete this project so it didn’t cost me that much. However if you own little to none of these materials, you need not worry because these items are very inexpensive and college budget friendly.
Before we begin I would place a sheet or newspaper so you can clean up easily once you finished.
Details:
Amount of time used to make: Approx. 10 minutes each jar.
Difficulty: Very easy
Budget friendly: Yes
!!!!!!!LETS GET STARTED!!!!!!!!!

Materials Needed:
1 Roll of Shelf Liner with adhesive on one side. {Approx. $1.00 at a Dollar Tree}
1 can of Multi-purpose Spray adhesive (mine is from Elmer) {Approx. $9.00 at Wal-Mart}
Lots of Glitter (Color of your choice) (Mine was from Wal-Mart and it was Approx. $6.00)
Battery Operated Tea Light Candles ($1.00 at Dollar Tree)
Scissors
Marker or Pen
Canning Jar or Clear Glass Cup
Popsicle Stick or Pencil
Optional Materials:
Pack of Air freshener Crystals if you want it to smell like a real candle. {Approx. $1.00 at the Dollar Tree}
Pack of marbles or colored rocks, etc. to add decoration
Step 1:
Take your roll of Shelf liner and on the side where the adhesive is located take your pen or marker and draw a medium size design (i.e. a heart or star). After you’ve done that, take your scissors and cut out your design.
Step 2:
Get your glass jar or cup and place it in front of you.
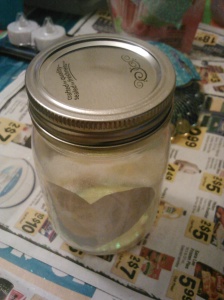
Get your recently cut out design: peel off the back, place your cutout inside, and begin to press the adhesive side of your cutout firmly against the glass inside the jar.
Step 3:
Next Grab your Multi Purpose Spray Can of Glue.
Spray the inside of your glass jar or cup with the glue making sure the inside glass is fully covered with the glue.
Step 4:
Take the colored glitter of your choice and empty a good amount of glitter into the jar.
Step 5:
Once you have entered a generous amount of glitter into your glass jar or cup, get the jar lid or a covering for your cup and place it on top of the opening of your glass in order to keep the glitter in your jar from escaping.
Step 6:
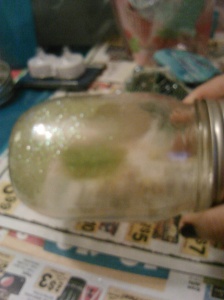
Once the cap of your glass is on, begin to turn the glass to get all of the jar evenly covered with glitter.
Step 7:
After you see that the entire jar is covered with glitter in the inside, take your popsicle stick or pencil and take out the cutout shape that you inserted earlier.
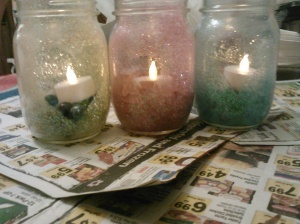
This is how your jar should look like so far.
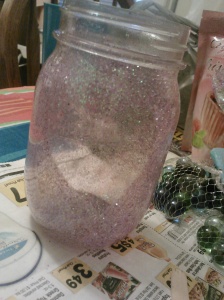
Step 8: (Optional)
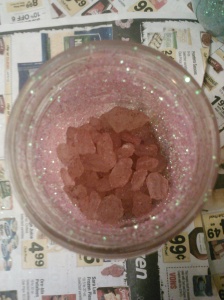
Now is the time you can either insert your air freshening crystals or colorful rocks.
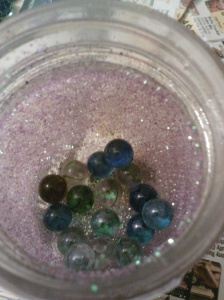
Step 9:
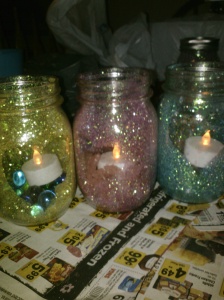
Once your jar is filled a little less than half ways, then you can insert your battery operated LED tea light candle.
Step 10:
Enjoy because you are finished.


