


Re-Invent Your Laundry Basket
Do you have an old laundry basket that you want to re-design?
Or maybe you just want a new laundry hamper but don’t have enough money to buy a new one…
Well have no fear because I have the solution for you!
Next semester I will be moving into my sorority house and the hamper I used in my dorm room has ripped. However, I remembered that I have an old scratched up black hamper that I left home to collect dust. This hamper is now what I will use for my future dirty clothes and it isn’t pretty looking at all, so I decided to bedazzled it!
So if you want to learn how to re-invent your laundry basket like mine, keep on reading because I have the step by step instructions to help you.
Materials Needed:

Laundry Basket/ Hamper (Not Pictured)
Clorox or Lysol Wipes/ Or Damp Paper Towels with a little bit of Soap (Not Pictured)
Glue (I got mine at Wal-Mart on sale for $3.00/ Elmer’s Precision Embellishment Glue)
Jewel Stones in the colors of your choice (I got mine at Wal-Mart for Approx. $5.00 – 200 stones with Adhesive in the back)
Optional Materials:
Shelf Liner with Adhesive in the back ($1.00 at the Dollar Tree)
Marker
Chalk
Glitter of the color of your choice
Scissors
Step 1:

In order for the jewels to stick better you need to clean the surface of your hamper. So grab your Clorox/ Lysol wipes or a damp paper towel with soap and scrub your hamper down.
Step 2:

After you cleaned your hamper, grab your jewels and start placing them onto the hamper.
Tip:
Even though you may have got the jewels with the sticky adhesive in the back, you still might want to glue them onto the hamper. I didn’t do this the first time around and I ended up having to glue the jewels back on again because they kept on falling off. So please learn from my mistakes, glue them the first time around because it will save you a lot of time.
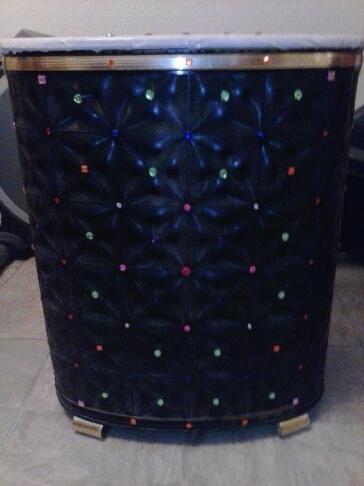
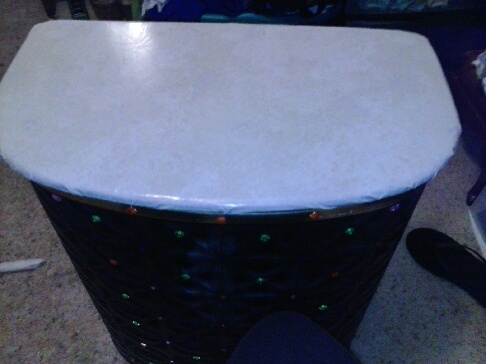
This is how your Hamper should look after you bedazzled your whole Basket:
Step 3 (Optional):

If you have a top on your hamper, grab your shelf liner and measure your liner to the cover of your basket.
Keep in mind you don’t have to do this even if you have a cover to your hamper. I only did it because the cover of my old hamper had writing on it.
Step 4 (Optional):

After you measured your shelf liner to the cover, begin to take off the back paper that covers your adhesive. Once you have done that, begin to press the adhesive side of the liner against the top of your hamper cover. After you have done that, grab your scissors and cut off any excess liner so that it wraps around the cover perfectly.
This is how it should look so far:
Step 5 (optional):


Once you have the shelf liner in place, grab your chalk and try the different styles and wording you would like to put on your hamper cover.
After you decided on a design grab your marker and outline your wording with a marker.
Next grab your glue and outline the wording with glue.
Remember to have your glitter nearby because you will need it as soon as you finish outlining your word(s) with glue.
Step 6 (optional):

Quickly grab your glitter and spread it all over the glue so that it has a thin layer of glitter on top of your word(s).
Before brushing off the excess glitter let the glitter sit on top of the glue for at least 2 hours or until dry.
Step 7 (Optional):

Once your glue has dried, carefully brush off any excess glitter from your wording, so that all that is left is the glitter stuck onto the glue.
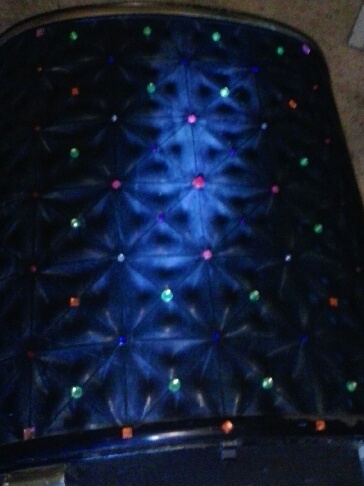
This is how your finished basket should look:

!!!Enjoy!!!
Tye Dye with Bleach

Want a Tye Dye Shirt but don’t have enough money to buy the kit?
Have an old shirt you want to make look like new again?
Or maybe you got bleach on one of your favorite shirts and you aren’t quite ready to let go yet…
Whatever your reason to tye dye with bleach, look no further for instructions on how to do it because I will show you.
JUST KEEP ON READING…
Details:
Time Spent: Approx. 30 min.
Difficulty: Easy
Budget friendly: Yes

Materials Needed:
Bleach (Any Brand)
Vinegar
Popsicle stick
About 10 rubber bands
Gloves
2 plastic containers
Water
Shirt (Not Shown Above)
Step 1:

Get your shirt and lay it flat. As you can tell I am tye dying my shirt because I accidentally got bleach on it while cleaning.
Step 2:

Pinch the middle of your shirt with your fingers.
Step 3:

Once you pinch your shirt begin to turn your shirt in either a counter-clockwise or clockwise direction. (If you want to do another tye dye design, now would be the time to do it.)
Step 4:


Once you twisted your shirt till you can’t no more, begin to tuck in the extra material of your shirt towards the center (like shown above). You want your shirt to be in the shape of a circle unless you are doing another type of tye dye technique.
Step 5:

Now that your shirt is in the shape of your of a circle, take one of your rubber bands and place it around the shirt in order for your shirt can stay in a circle.
This is how your shirt should look now once you’ve placed the rubber band.

Step 6:

Once the first rubber band is in place continue to place the other rubber bands in different directions around the shirt to make it into a “kinda perfect” circle. Also if some of your bands break don’t worry.
Step 7:

Now that your rubber bands are on your shirt, take one of your containers and fill it with room temperature water about halfway. Now take your bleach and put in about 1 cup of the bleach into the container with the water. Next take your popsicle stick and stir the liquids together. Now you are able to stick your shirt into the container with the bleach. (As you can see in the picture above, I used one of my broken rubber bands to hold my shirt so I didn’t have to touch the solution with my hands too much since I didn’t have gloves on hand.)
Leave your shirt in the bleach for about 7 min. Even if you don’t see the shirt change colors on the outside, it is most likely bleached on the inside already.
Step 8:
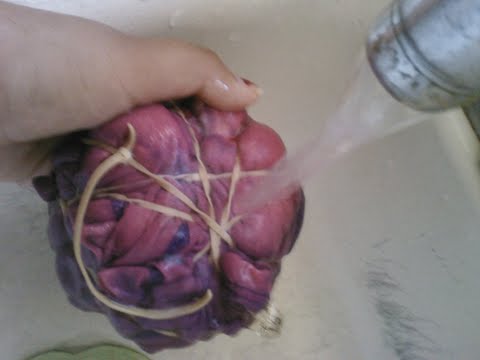
Once the 7 minutes has passed, take your shirt and take it to the sink and rinse the bleach off the shirt as much as you can without removing the rubber bands.
Step 9:
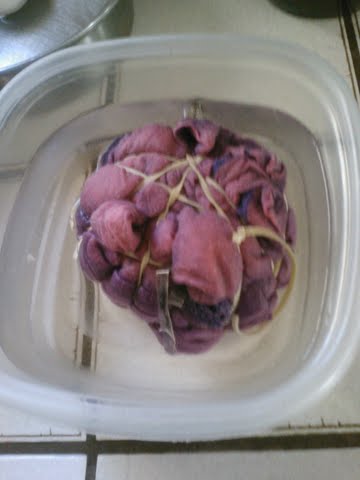
Next grab your second container and fill it half ways with room temperature water and the rest with your vinegar and then stir the 2 liquids together. After you have done that, place your shirt in the container with the vinegar solution. Leave the shirt in for about 12 minutes. (I personally left mine in for about 20 minutes because I didn’t have that much vinegar).
So why vinegar you may ask?
Well vinegar helps neutralize the bleach.
Step 10:
After the 12 minutes have passed, take your shirt and place it under the faucet in your sink. Rinse your shirt of the vinegar without removing the rubber bands. After you have rinsed the shirt, begin to take off the rubber bands off your shirt so you can finish rinsing the shirt thoroughly. After rinsing your shirt with water, begin to ring it out and hang it up to dry.
This is how your finished product should look:


Gift or Room Idea: Glitter Candle Lantern

Have a little time on your hands?
Need an inexpensive gift quickly?
Or do you just need an inexpensive way to decorate your room?
Well if you answered yes to any of the questions above I have just the project for you. I made this candle holder this month when I needed a gift fast but had only $10.00 to my name. Luckily I had most of the materials needed to complete this project so it didn’t cost me that much. However if you own little to none of these materials, you need not worry because these items are very inexpensive and college budget friendly.
Before we begin I would place a sheet or newspaper so you can clean up easily once you finished.
Details:
Amount of time used to make: Approx. 10 minutes each jar.
Difficulty: Very easy
Budget friendly: Yes
!!!!!!!LETS GET STARTED!!!!!!!!!

Materials Needed:
1 Roll of Shelf Liner with adhesive on one side. {Approx. $1.00 at a Dollar Tree}
1 can of Multi-purpose Spray adhesive (mine is from Elmer) {Approx. $9.00 at Wal-Mart}
Lots of Glitter (Color of your choice) (Mine was from Wal-Mart and it was Approx. $6.00)
Battery Operated Tea Light Candles ($1.00 at Dollar Tree)
Scissors
Marker or Pen
Canning Jar or Clear Glass Cup
Popsicle Stick or Pencil
Optional Materials:
Pack of Air freshener Crystals if you want it to smell like a real candle. {Approx. $1.00 at the Dollar Tree}
Pack of marbles or colored rocks, etc. to add decoration
Step 1:

Take your roll of Shelf liner and on the side where the adhesive is located take your pen or marker and draw a medium size design (i.e. a heart or star). After you’ve done that, take your scissors and cut out your design.
Step 2:
Part A:
Get your glass jar or cup and place it in front of you.
Part B:

Get your recently cut out design: peel off the back, place your cutout inside, and begin to press the adhesive side of your cutout firmly against the glass inside the jar.
Step 3:
Part A:

Next Grab your Multi Purpose Spray Can of Glue.
Part B
 <
<
Spray the inside of your glass jar or cup with the glue making sure the inside glass is fully covered with the glue.
Step 4:

Take the colored glitter of your choice and empty a good amount of glitter into the jar.
Step 5:

Once you have entered a generous amount of glitter into your glass jar or cup, get the jar lid or a covering for your cup and place it on top of the opening of your glass in order to keep the glitter in your jar from escaping.
Step 6:

Once the cap of your glass is on, begin to turn the glass to get all of the jar evenly covered with glitter.
Step 7:

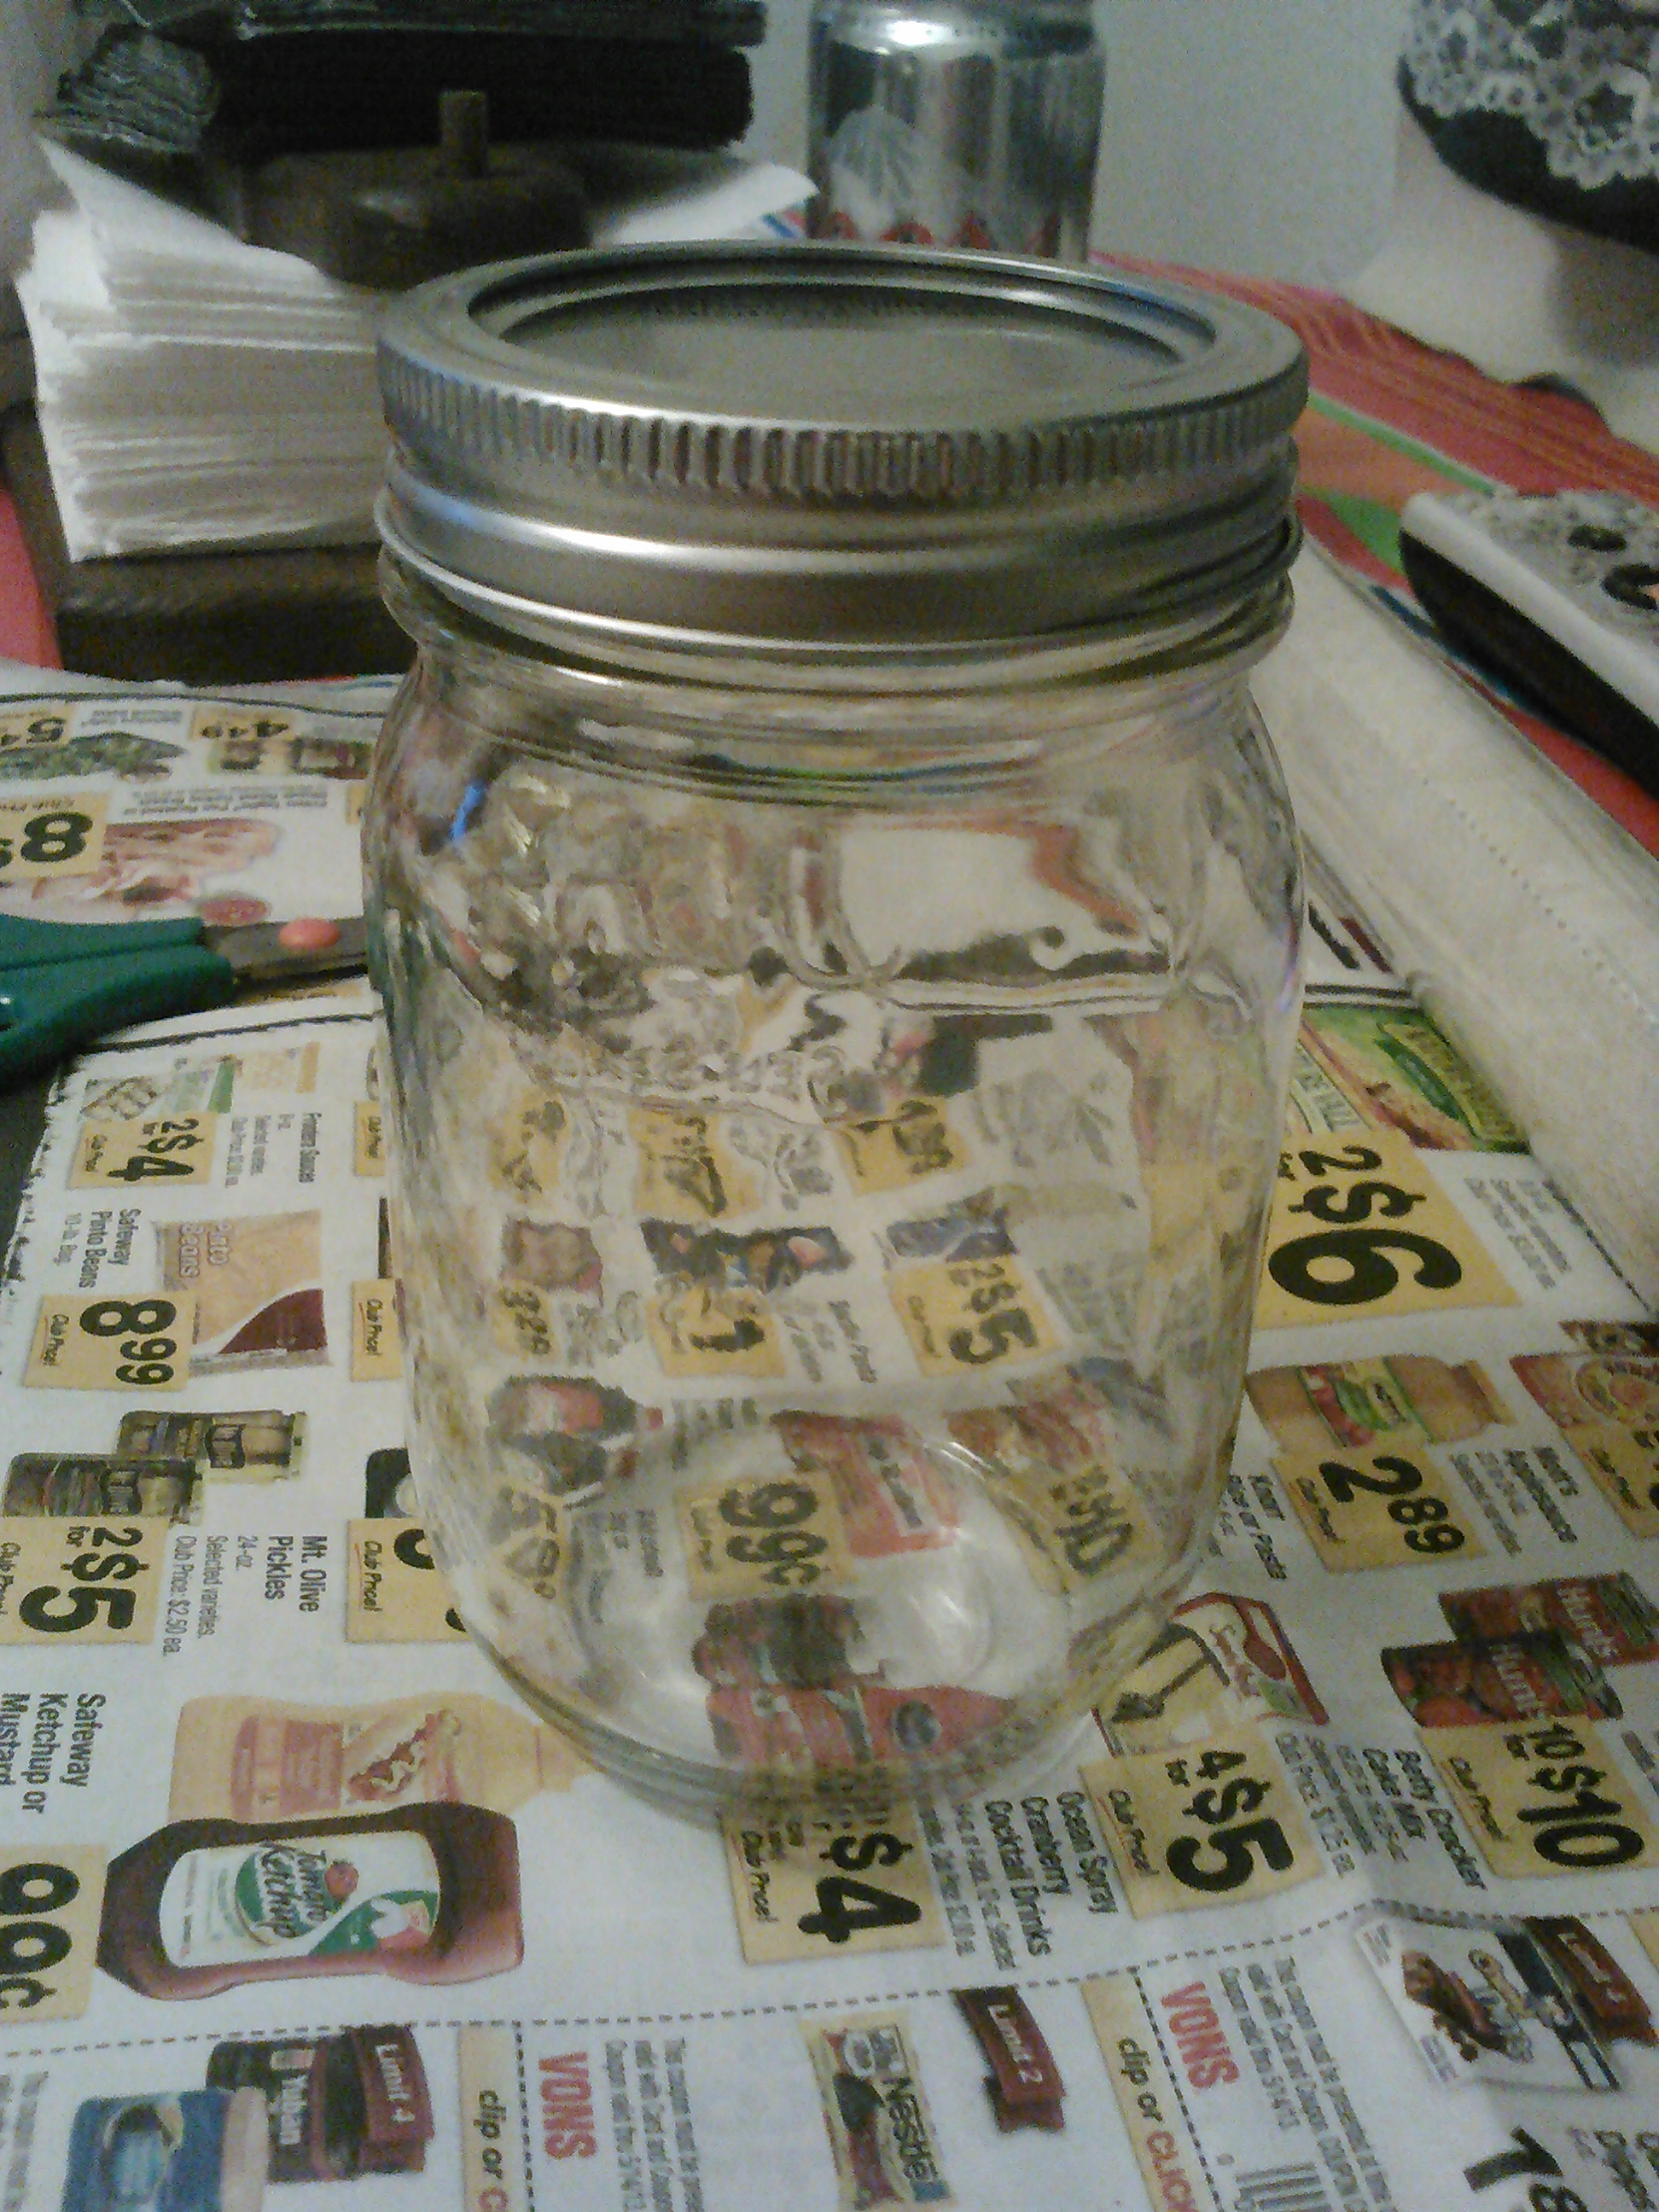
After you see that the entire jar is covered with glitter in the inside, take your popsicle stick or pencil and take out the cutout shape that you inserted earlier.
This is how your jar should look like so far.

Step 8: (Optional)
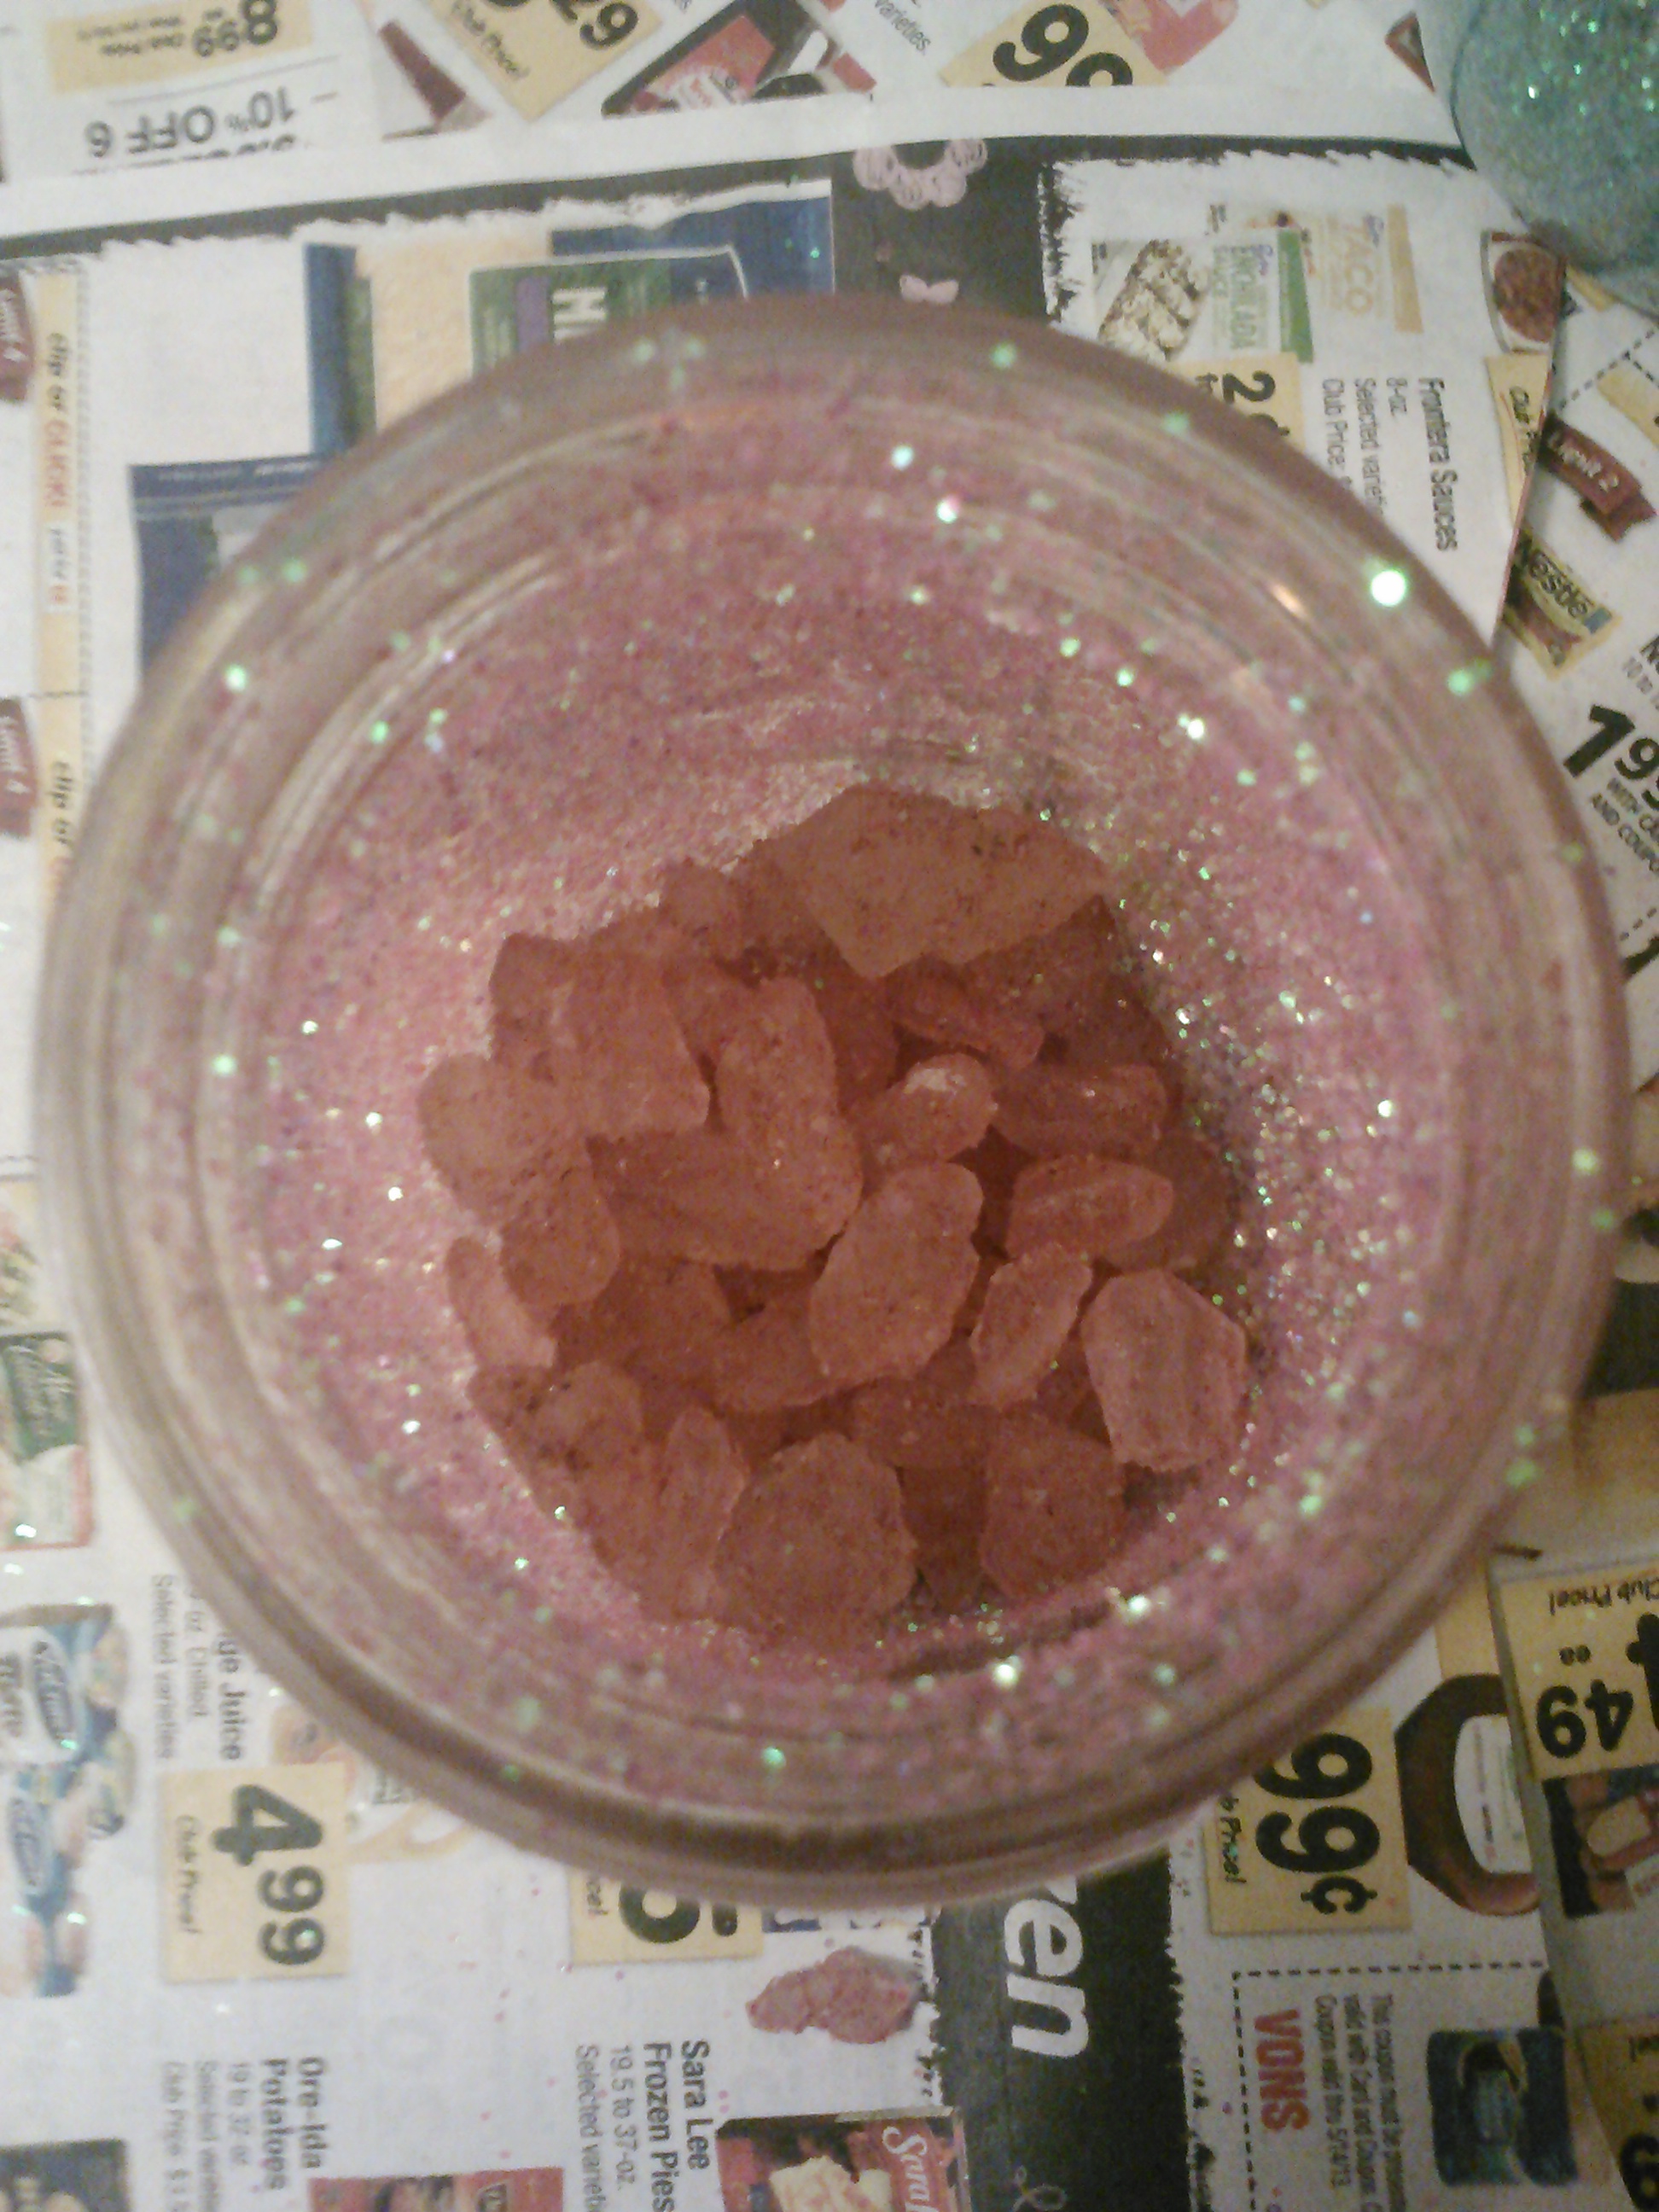
Now is the time you can either insert your air freshening crystals or colorful rocks.

Step 9:
Once your jar is filled a little less than half ways, then you can insert your battery operated LED tea light candle.
Step 10:
Enjoy because you are finished.

